Hướng dẫn cài đặt Wipter Manager (online)
Cài Wipter Manager trên VPS Linux bằng script online wipter-setup.sh, rồi cấu hình lần đầu trên Web UI.
Yêu cầu
| Mục | Chi tiết |
|---|---|
| OS | Linux (Ubuntu/Debian/CentOS… có systemd khuyến nghị) |
| Quyền | Root / sudo — để cài systemd + tối ưu kernel/ulimit |
| Mạng | Kết nối ra ngoài để tải script + bản .run |
| Node.js | ≥ 18 — script tự cài qua nvm nếu thiếu |
| Công cụ | curl (hoặc wget), tar, base64 |
1. Cài đặt online
Script tải từ https://2movn.com/tool/wipter-setup.sh, sau đó tải bản đóng gói tương ứng:
Version (-v) |
File tải |
|---|---|
v3.3.5-linux |
wipter-v3.3.5-linux.run |
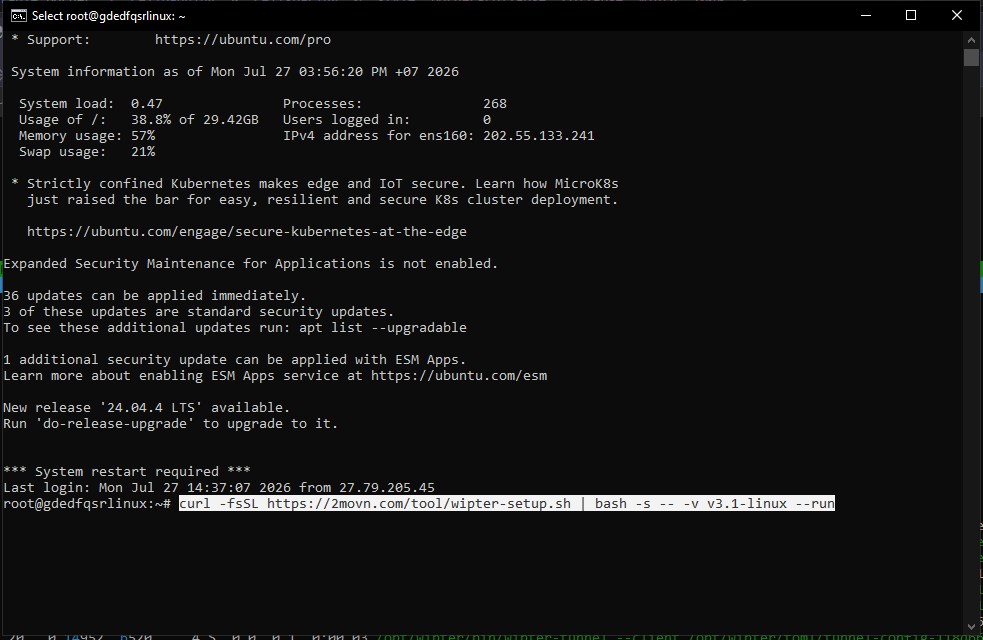
Lệnh khuyến nghị (cài + chạy ngay)
# v3.3 (mới hơn)
curl -fsSL https://2movn.com/tool/wipter-setup.sh | sudo bash -s -- -v v3.3.5-linux --run
Mặc định khi chạy bằng root:
- Thư mục cài:
/opt/wipter - Port Web: 3100
- Service systemd:
wipter - Tự tối ưu VPS (sysctl / ulimit /
DefaultLimitNOFILE)
Chỉ cài, chưa start
curl -fsSL https://2movn.com/tool/wipter-setup.sh | sudo bash -s -- -v v3.3.5-linux
sudo systemctl start wipter
Tuỳ chọn thường dùng
# Đổi thư mục / port
curl -fsSL https://2movn.com/tool/wipter-setup.sh | sudo bash -s -- \
  -v v3.3.5-linux -d /opt/wipter --port 3100 --run

# Cập nhật code, giữ database (SQLite + .store_key) + toml/logs/proxy
curl -fsSL https://2movn.com/tool/wipter-setup.sh | sudo bash -s -- \
  -v v3.3.5-linux --keep-data --run

# Không cài systemd (chạy tay bằng start.sh)
curl -fsSL https://2movn.com/tool/wipter-setup.sh | bash -s -- \
  -v v3.3.5-linux --no-systemd --run
Xem đầy đủ:
curl -fsSL https://2movn.com/tool/wipter-setup.sh | bash -s -- --help
Options:
  -v, --version

  -d, --dir

  --user

  --port

  --run                   Enable + start service ngay (hoặc chạy foreground nếu --no-systemd)

  --keep-data, --update   Giữ database + runtime (ĐÃ LÀ MẶC ĐỊNH)

  --wipe-data, --fresh    Cài sạch — XÓA data/toml/logs/proxy (mất SQLite, proxy pool, license…)

  --no-systemd            Không cài systemd unit

  --no-tune               Không áp dụng tối ưu VPS (sysctl/limits)

  --no-node-install       Không tự cài nvm/Node (nếu thiếu sẽ báo lỗi)

  -h, --help              Trợ giúp
Examples:
# Cập nhật / cài bản mới nhất, giữ data, chạy service:
curl -fsSL https://2movn.com/tool/wipter-setup.sh | sudo bash -s -- -v v3.3-linux --run
# Cùng lệnh, bỏ -v cũng được (mặc định v3.3-linux):
curl -fsSL https://2movn.com/tool/wipter-setup.sh | sudo bash -s -- --run
# Cài vào thư mục tùy chọn:
curl -fsSL https://2movn.com/tool/wipter-setup.sh | sudo bash -s -- -v v3.3-linux -d /opt/wipter --run
# Cài SẠCH (xóa DB) — chỉ khi chắc chắn:
curl -fsSL https://2movn.com/tool/wipter-setup.sh | sudo bash -s -- -v v3.3-linux --wipe-data --run
Script làm gì?
- Kiểm tra / cài Node.js ≥ 18 (nvm nếu cần)
- (Root) Áp dụng tối ưu VPS — file descriptor, TCP backlog, systemd limits
- Tải
.run→ giải nén vào thư mục cài - Tạo wrapper
start.sh/stop.sh+ unit systemdwipter.service - Với
--run: enable + start service
2. Kiểm tra sau khi cài
# Trạng thái service
systemctl status wipter

# Log realtime
journalctl -u wipter -f

# Health (public, không cần auth)
curl -s http://127.0.0.1:3100/api/health
Mở Web UI:
http://{ip_public_vps}:3100
Firewall / security group cần mở port 3100 (hoặc port đã đặt bằng --port).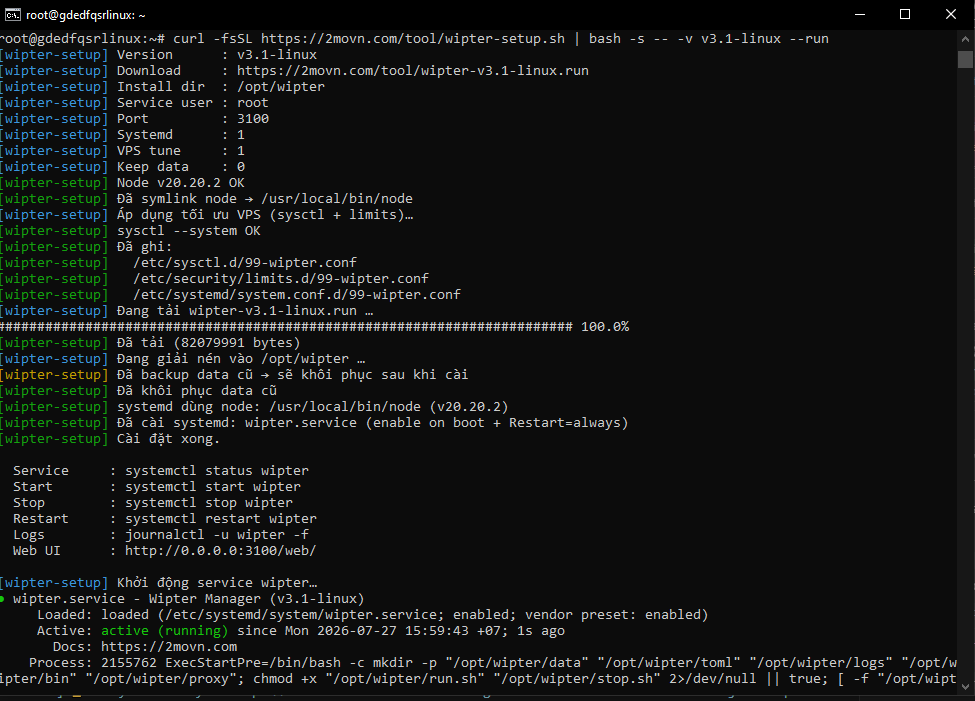
| Lệnh | Mục đích |
|---|---|
systemctl start wipter |
Start |
systemctl stop wipter |
Stop |
systemctl restart wipter |
Restart |
journalctl -u wipter -f |
Xem log |
Không dùng systemd: chạy /opt/wipter/start.sh và /opt/wipter/stop.sh.
3. Cấu hình trên Web (lần đầu)
Luồng: License → Setup → Login → Dashboard.
Bước A — Kích hoạt License
Lần đầu mở /web/ sẽ vào trang License. Nhập key license 2movn → kích hoạt.
Nếu đổi hardware VPS, device fingerprint có thể đổi — cần nhập lại key.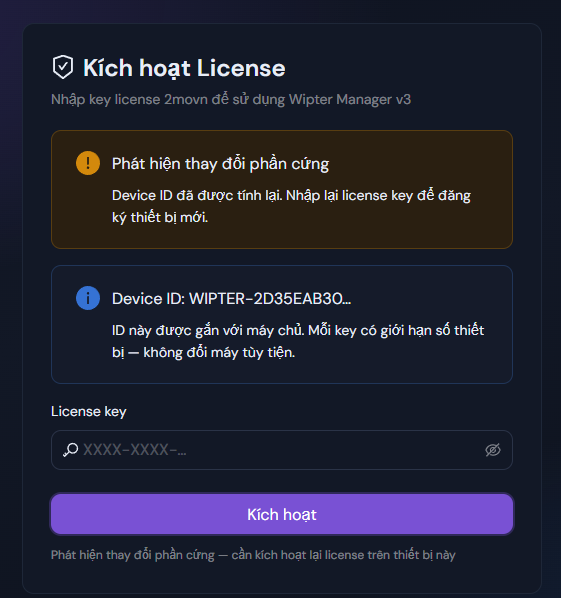
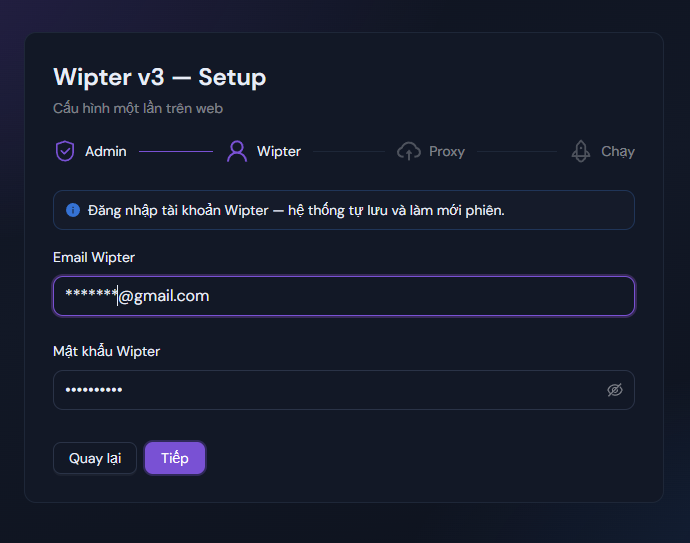
Bước B — Setup wizard (4 bước)
| Bước | Nội dung |
|---|---|
| 1. Admin | Tạo tài khoản quản trị Web (username > 4 ký tự; mật khẩu ≥ 6, có chữ hoa, số, ký tự đặc biệt) |
| 2. Wipter | Email + mật khẩu tài khoản Wipter (Cognito) — dùng để đăng ký / chạy node |
| 3. Proxy | Dán danh sách proxy (mỗi dòng một proxy). Type mặc định: Auto → socks5 |
| 4. Chạy | Bật Tự deploy ngay sau setup (khuyến nghị) → Hoàn tất |
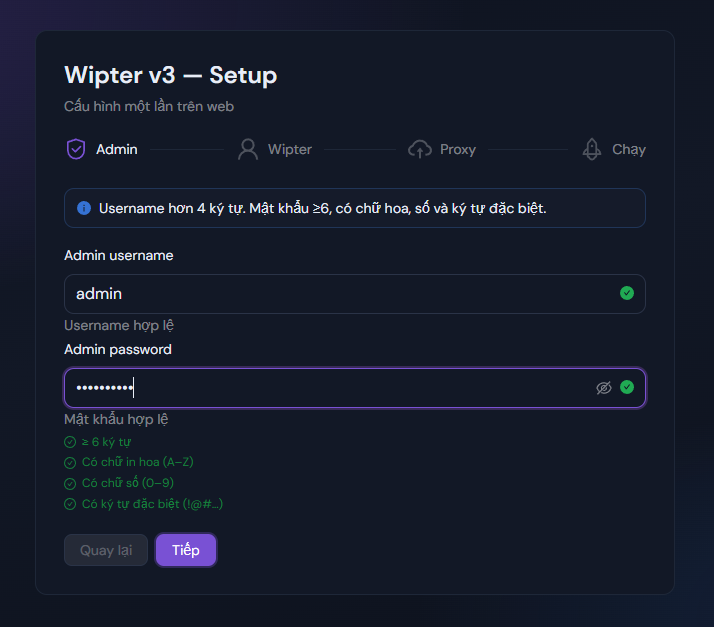
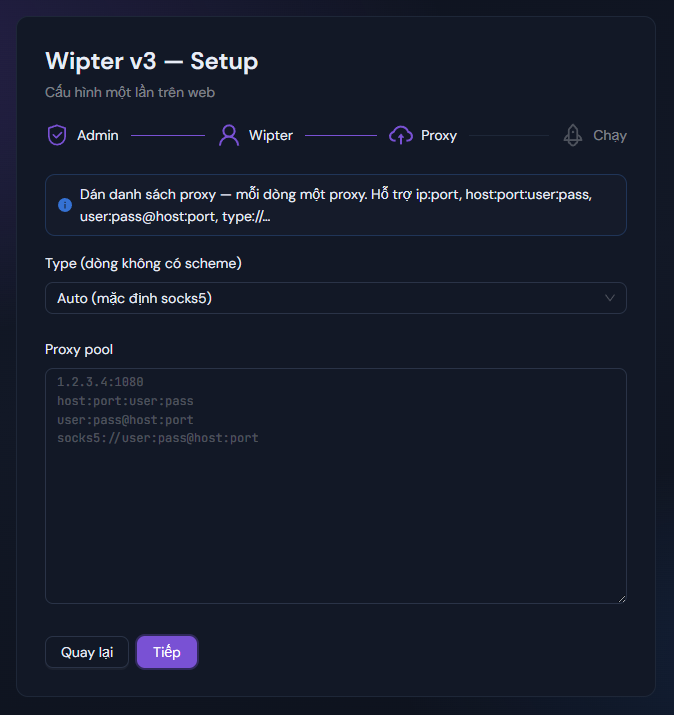
Định dạng proxy hỗ trợ:
1.2.3.4:1080
host:port:user:pass
user:pass@host:port
socks5://user:pass@host:port
Proxy được lưu vào SQLite proxy_pool . Dedup theo host:port.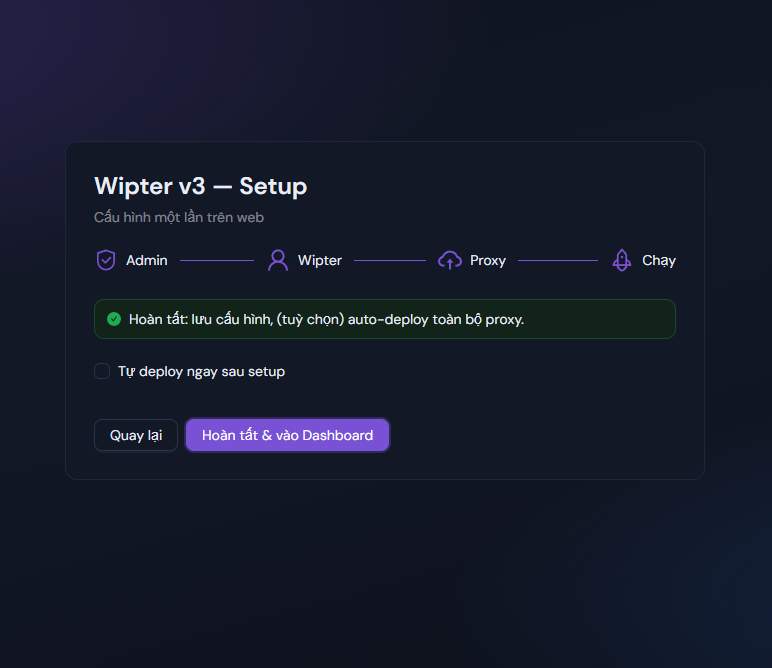
Bước C — Đăng nhập & dùng hàng ngày
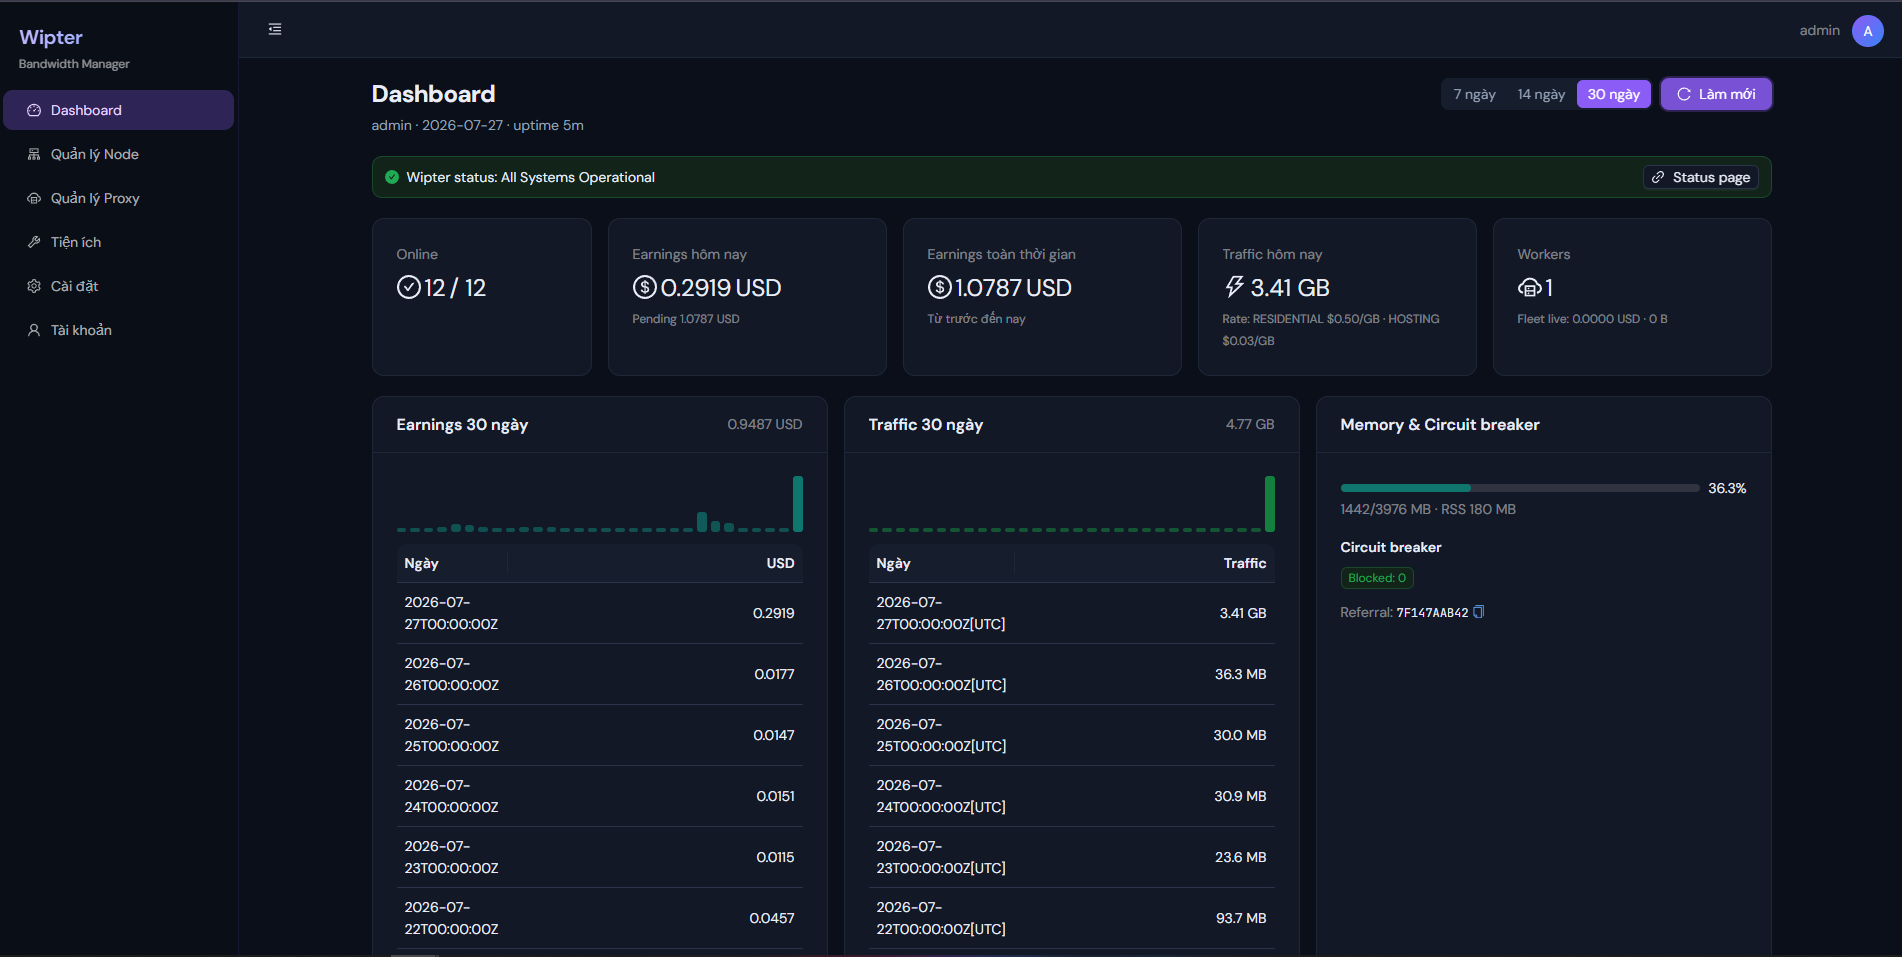
Sau setup, đăng nhập bằng admin đã tạo. Các mục chính:
| Trang | Việc làm |
|---|---|
| Dashboard | Tổng quan trạng thái / thống kê |
| Proxies | Import thêm, check live, retire / restore, xóa |
| Nodes | Deploy từ pool, restart / stop / xóa node, thay proxy |
| Utilities | Tiện ích vận hành |
| Account | Thông tin tài khoản Wipter / ngày |
| Settings | Cấu hình thêm |

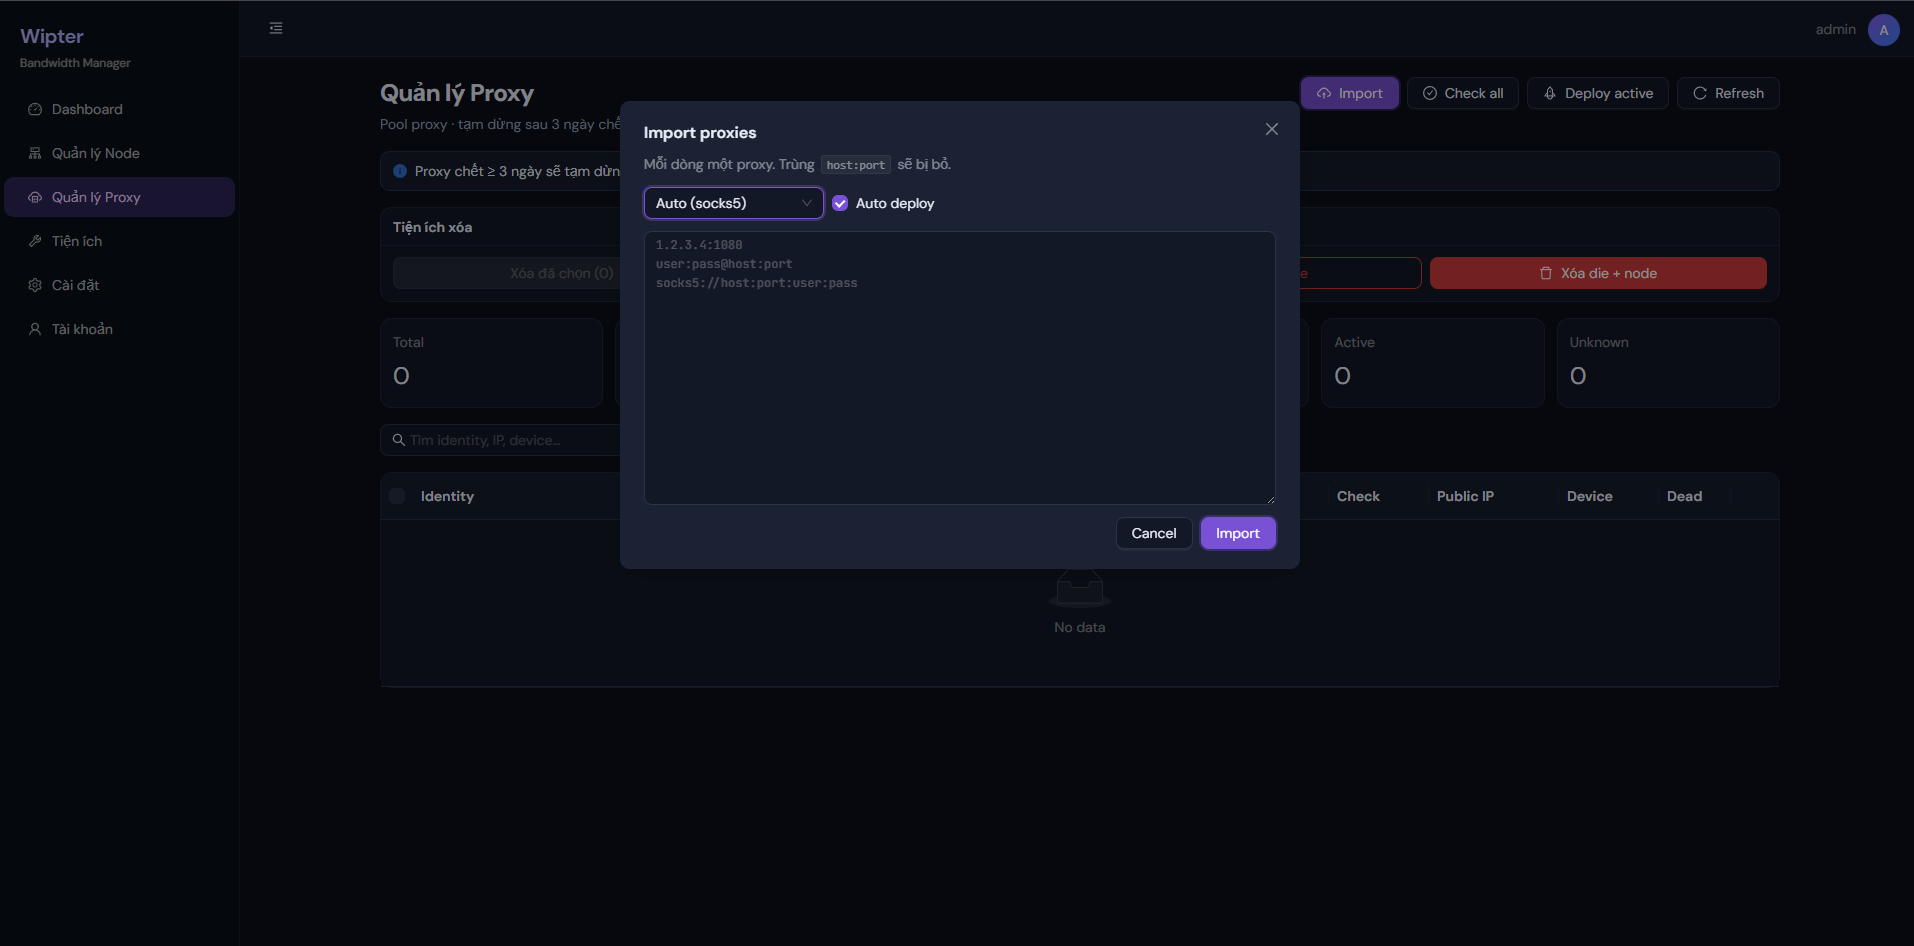
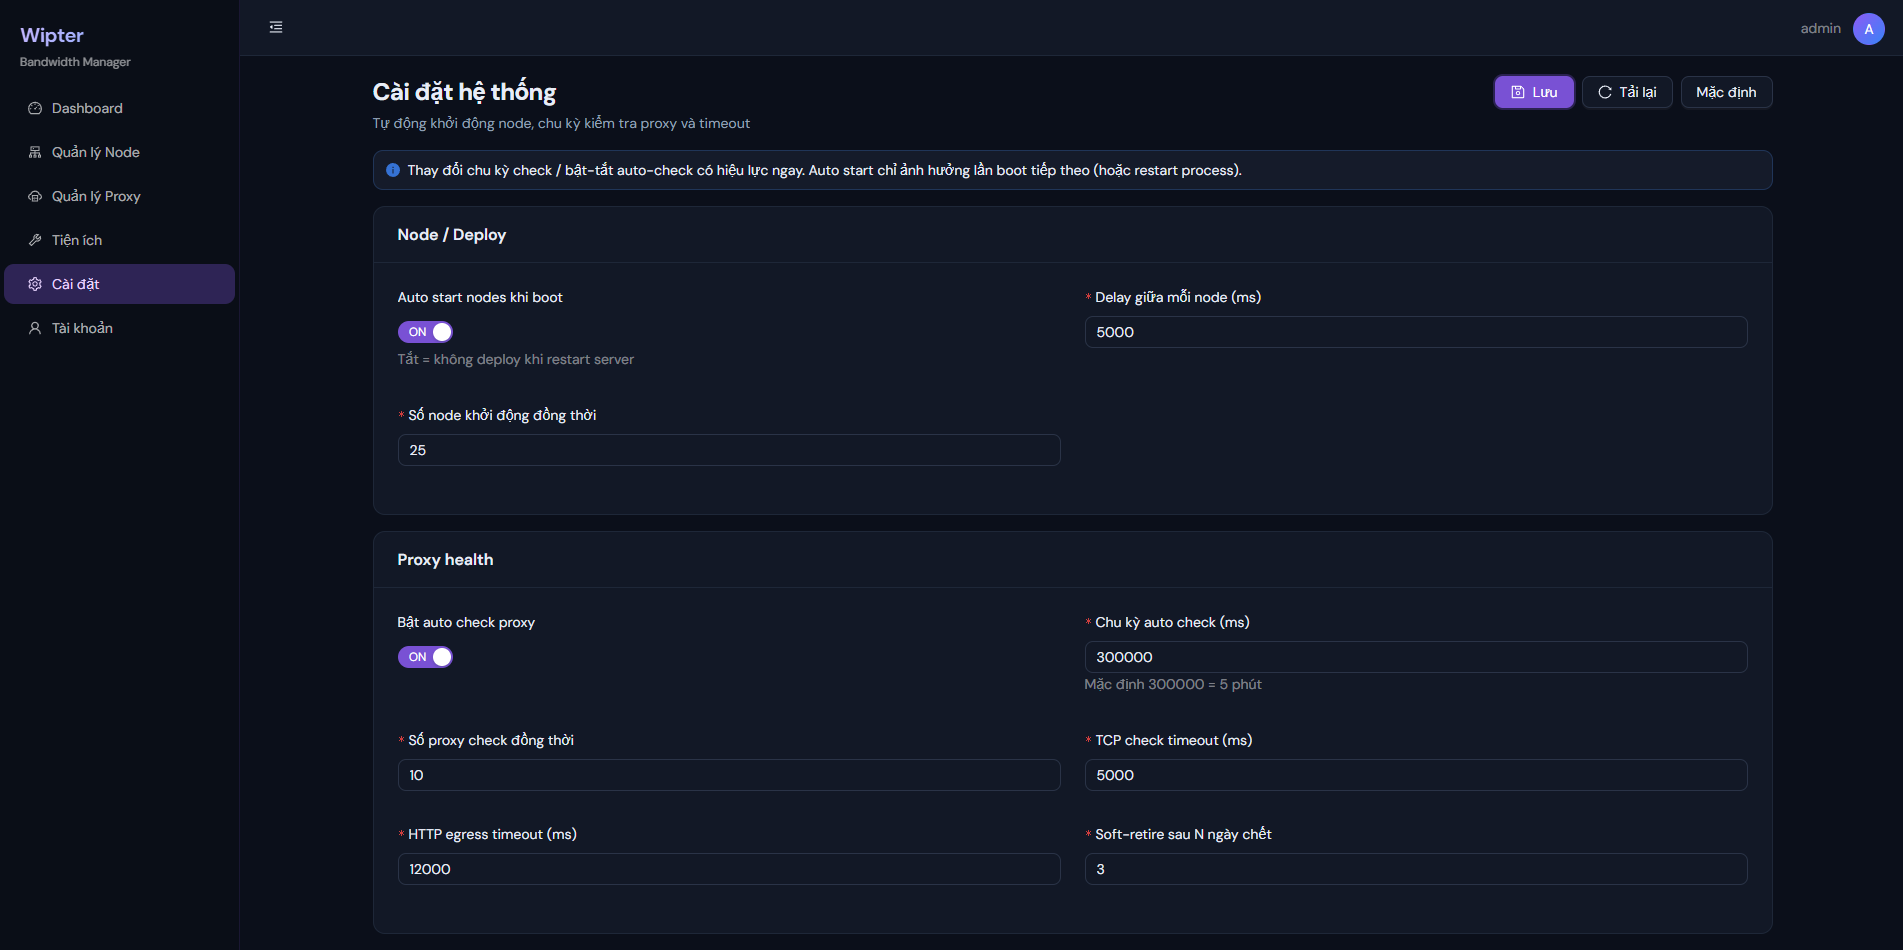
Gợi ý vận hành:
- Import proxy → (tuỳ chọn) check health
- Deploy từ
proxy_poollifecycle = active - Theo dõi Nodes / Dashboard; proxy chết lâu sẽ soft-retire, live lại thì restore cùng
deviceId
4. Cập nhật phiên bản
Giữ nguyên DB và dữ liệu runtime:
curl -fsSL https://2movn.com/tool/wipter-setup.sh | sudo bash -s -- \
  -v v3.3.5-linux --keep-data --run
--keep-data / --update không ghi đè thư mục: data/, toml/, logs/, proxy/.
5. Lưu ý an toàn
- Đặt mật khẩu admin mạnh; không dùng mật khẩu mặc định yếu
- Giữ nguyên
data/vàdata/.store_key(AES secrets) — mất key = không đọc được secret đã mã hóa /api/healthchỉ trả status / version / uptime — không lộ cấu hình nhạy cảm- Chỉ mở port Web cho IP tin cậy nếu VPS public
Tóm tắt nhanh
# 1) Cài + chạy
curl -fsSL https://2movn.com/tool/wipter-setup.sh | sudo bash -s -- -v v3.3.5-linux --run

# 2) Mở trình duyệt
# http://{ip_public_vps}:3100